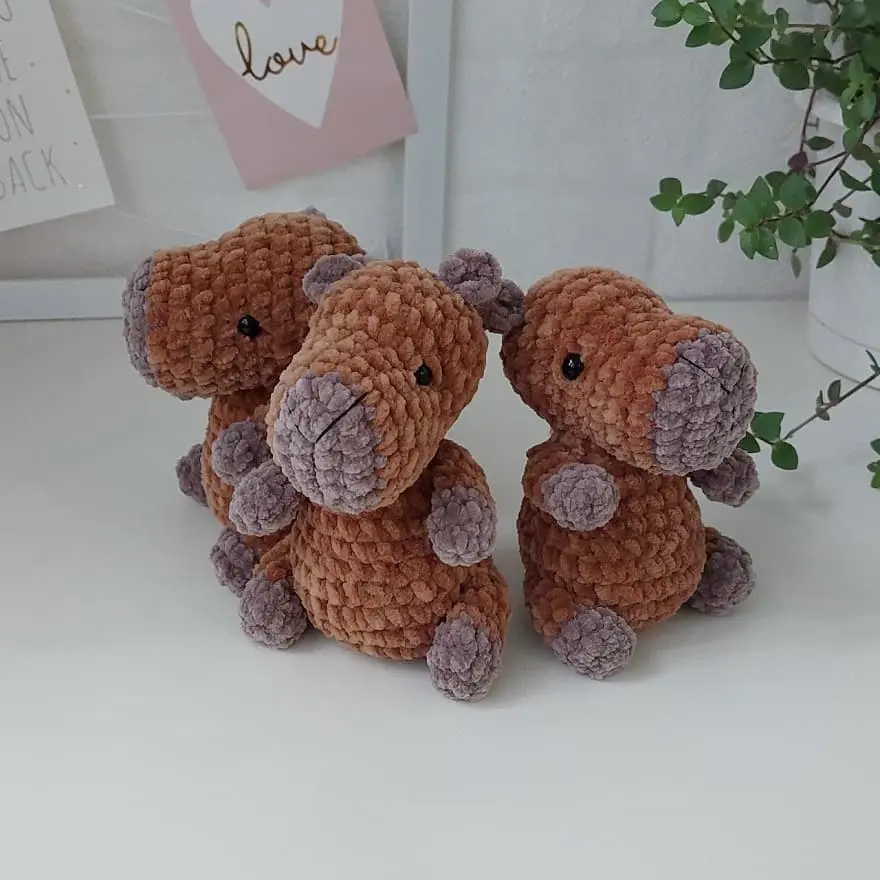
Plush capybara free amigurumi pattern
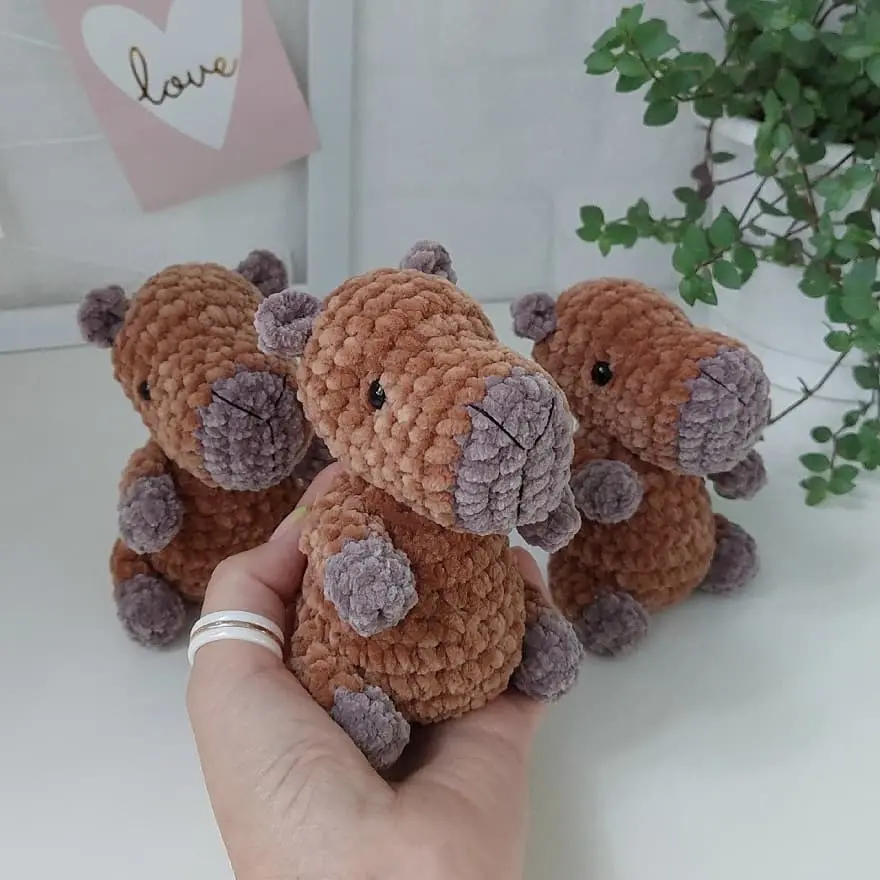
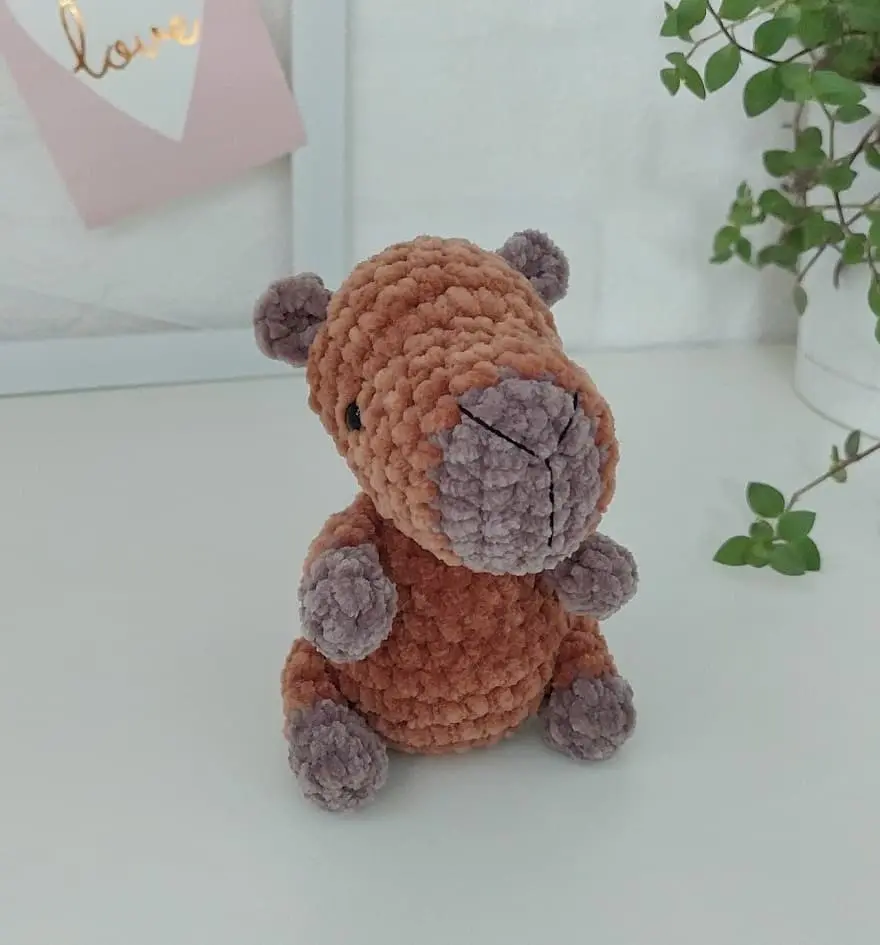
Meet an adorable plush capybara amigurumi! This free amigurumi capybara crochet pattern made with chenille yarn, lets you to create your very own chubby little capybara. The finished crochet capybara is about 12 cm (4.7″) tall, if you use the same yarn and hook. Perfect for beginners and experienced crocheters alike, this amigurumi capybara pattern is a fun project for anyone who loves making charming plushies.
Designed and photos by @fairy_for_kids
Translated by Amiguroom Toys
Materials:
- Yarn: Wolans Bunny Sweather (100% super-soft polyester, 100 g / 160 m) – less than 0.5 skein of the main color
- Crochet hook: 3.0 mm
- 8-10 mm safety eyes
- Strong black thread
- Large-eye needle
- Sewing pins
- Stitch marker
- Scissors
- Fiberfill
Abbreviations:
R = row
mc = magic circle (magic ring)
ch = chain
st = stitch
sc = single crochet
inc = 2 sc in the next stitch
dec = single crochet 2 stitches together
F. o. = finish off
(12) = number of stitches you should have at the end of the round/row
(…)* 6 = repeat whatever is between the brackets the number of times stated
Free plush capybara crochet pattern
Head
Start with additional color:
Make 7 ch. Make an oval starting from the 2nd ch from hook, work on both sides of the chain.
R 1: From the 2nd ch from hook: 5 sc, 3 sc in one st, 4 sc, inc (14)
R 2: (inc, 4 sc)*2, inc, 3 sc (17)
Change to main color:
R 3-6: 17 sc (4 rows)
R 7: 7 sc, 4 inc, 6 sc (21)
(Note: The 4 increases form the front shaping centered over the foundation chain.)
R 8-11: 21 sc (4 rows)
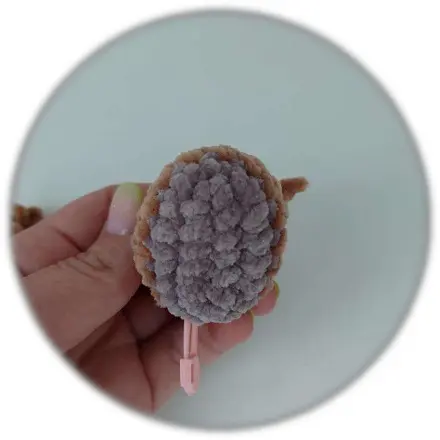
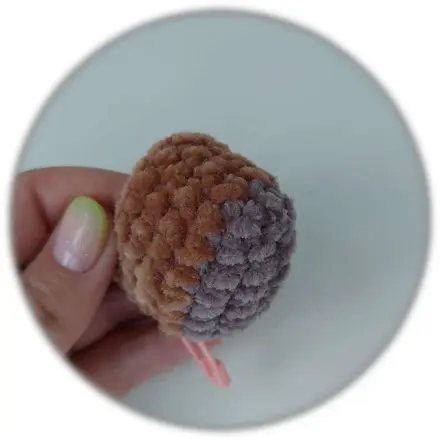
Insert the safety eyes in the R 7. Use the foundation chain as a guide: count 4–5 single crochet stitches away from the chain in each direction, then insert the eyes. There should be approximately 9–10 single crochet stitches between the eyes.
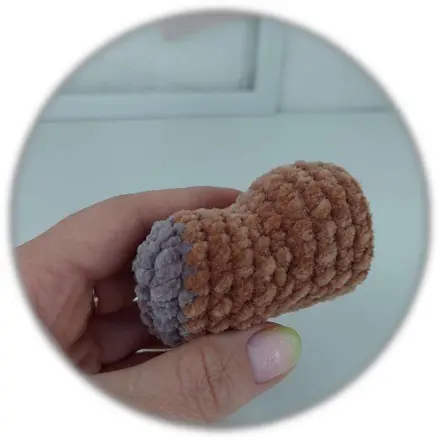
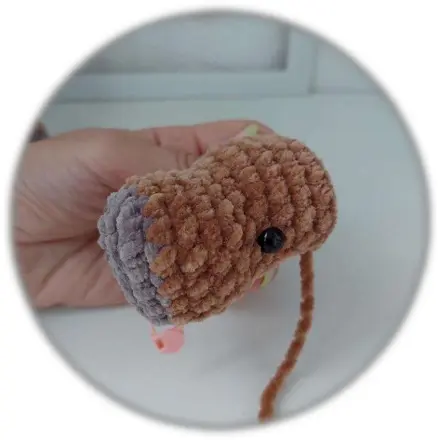
R 12: (5 sc, dec)*3 (18)
R 13: (4 sc, dec)*3 (15)
R 14: (3 sc, dec)*3 (12)
Stuff the head.
R 15: (dec)*6 (6)
F. o. and leave a long tail.
Using a needle, bring the yarn tail out through the centre of the lower part of the head. We will use this yarn to embroider the eyelids.
Design: Add eye shaping, then embroider the nose and eyelids.
See the video tutorial below. Open the video on YouTube to turn on subtitles and select English for the translation.
Ears (make 2)
With additional color:
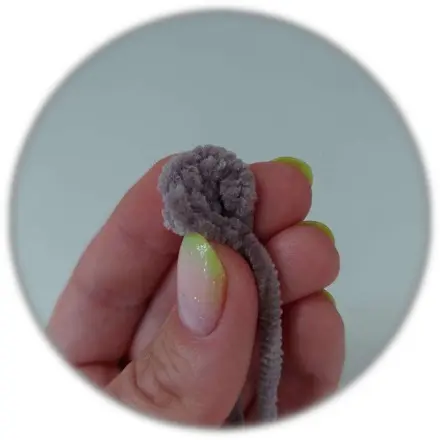
R 1: 7 sc in mc (7)
Fold the ear in half and join the edges with a slip stitch.
F. o. and leave a long tail for sewing.
Arms (make 2)
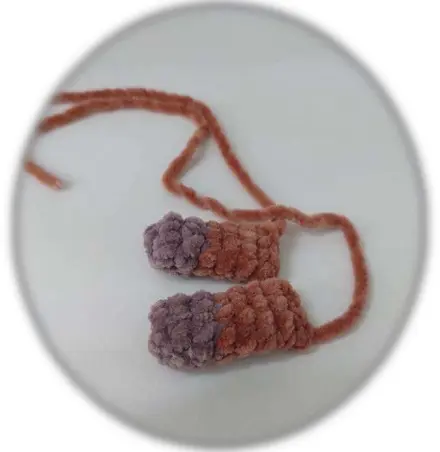
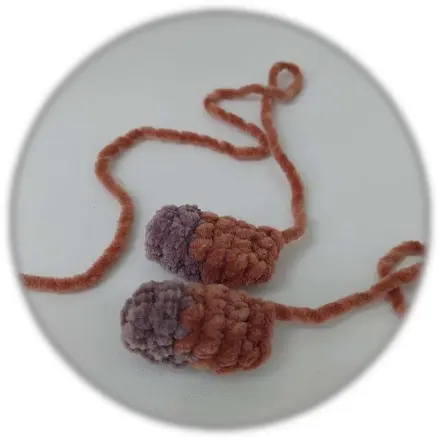
Start with additional color:
R 1: 6 sc in mc (6)
R 2-3: 6 sc (2 rows)
Change to main color:
R 4-6: 6 sc (3 rows)
Very lightly stuff the arm.
Fold top of arm flat and 3 sc through both sides across.
F. o. and leave a long tail for sewing.
Legs (make 2)
Start with additional color:
R 1: 6 sc in mc (6)
R 2: (1 sc, inc)*3 (9)
R 3: 9 sc
Change to main color:
R 4-5: 9 sc (2 rows)
R 6: (1 sc, dec)*3 (6)
Very lightly stuff the leg.
Fold top of leg flat and 3 sc through both sides across.
F. o. and leave a long tail for sewing.
Body
With main color:
R 1: 7 sc in mc (7)
R 2: (inc)* 7 (14)
R 3: (1 sc, inc)*7 (21)
R 4: (2 sc, inc)*7 (28)
R 5-7: 28 sc (3 rows)
R 8: (2 sc, dec)*7 (21)
R 9-11: 21 sc(3 rows)
R 12: (1 sc, dec)*7 (14)
R 13: 14 sc
Stuff the body.
F. o. and leave a long tail for sewing.
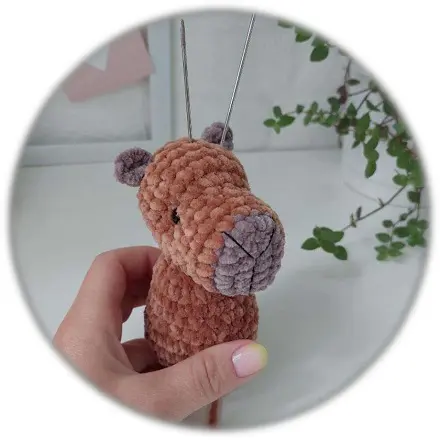
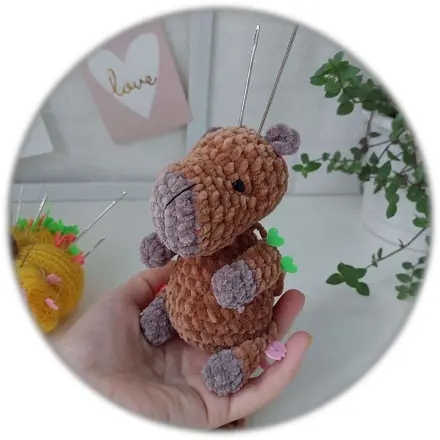
Assembly
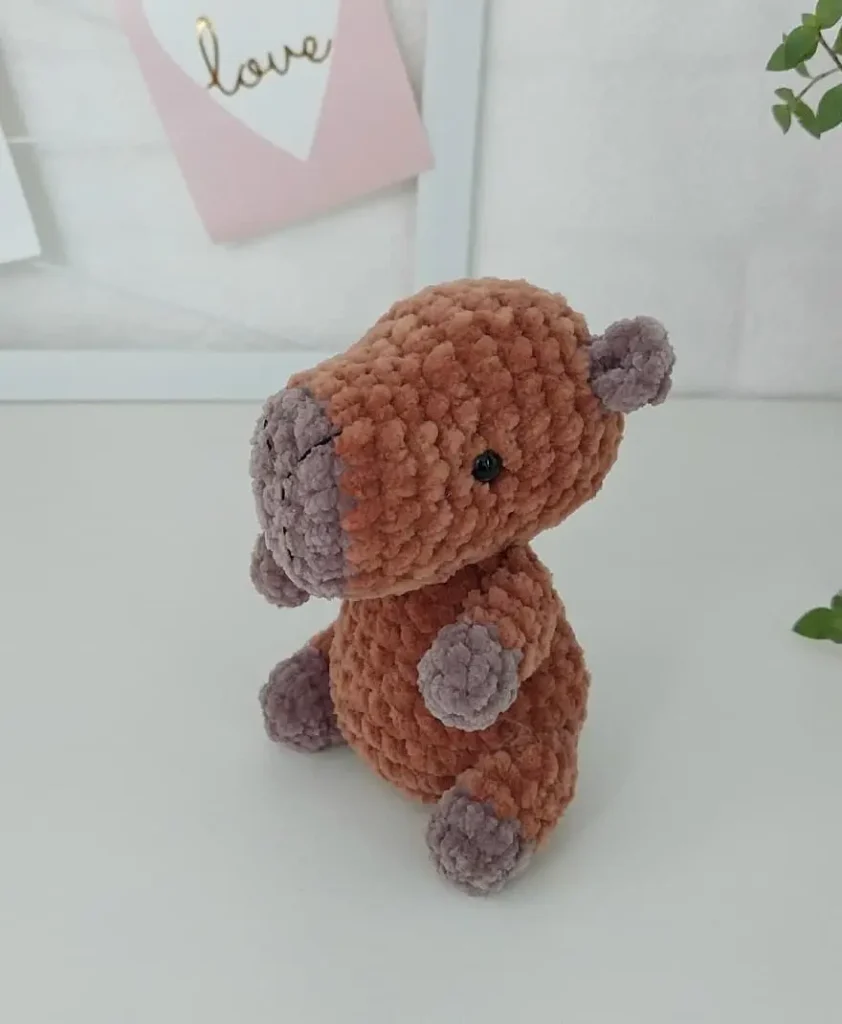
Sew the head to the body.
Pin the arms and legs in place, then sew them on securely.